

The image is starred, hazy, or partially blacked out
Cracked Distal Lens Repair for a Starred, Hazy, or Blacked Out Image
A star pattern, a haze that will not wipe off, or a dark wedge at the edge of the field usually means the distal lens or the objective assembly behind it has been hit. What caused it decides how deep the repair goes.
- Flexible distal tips and rigid rod lens optics
- Objective assembly and window replacement
- Free evaluation and a written quote first
- Pickup in Southern California, mail-in nationwide
Get a Free Repair Quote
Tell us what failed and we will send a written quote before any work begins. No charge for the evaluation, and no purchase order needed to get one.
Quote before any work
You approve a written quote before a technician touches the scope.
Free evaluation
We diagnose the failure and price the repair at no charge, even if you decline.
We come and get it
Pickup and delivery across Southern California, mail-in service everywhere else.
Independent, not the OEM
All major manufacturers serviced, without OEM exchange pricing.
Symptom to cause
What the Damage Pattern on the Distal Lens Is Telling You
The shape of the defect on the monitor narrows the fault down to a surface, a bonded joint, or the sealed space behind the window.
What you see
A bright star or radial crack pattern sitting in a fixed position on the image
Likely cause
The outer distal window is cracked. Fixed position confirms the defect is on the scope rather than on the camera, the coupler, or the monitor.
What we do
Replace the distal window, reseal the tip assembly, and pressure test the rebuilt seal before the optics are recertified for image quality.
What you see
A gouge, chip, or scuff at the edge of the field that gets worse over months
Likely cause
Repeated contact wear on the window surface, usually from accessory passage, brush heads during reprocessing, or a bite block that shifted.
What we do
Repolish where the depth allows, replace the window where it does not, and check the surrounding bond line for the crack that usually follows.
What you see
A haze or milky veil across the whole field that does not clean off
Likely cause
Moisture inside the optical train rather than damage on the outer surface. The seal has been breached and condensation is forming on inner lens faces.
What we do
Open the optical path, dry and clean each surface, replace the failed seal, and reseal the assembly before the anti reflective coating is etched.
What you see
A dark wedge or crescent blocking part of the field
Likely cause
A displaced or fractured lens element behind the window, often after a drop or a forceful accessory pass against a deflected tip.
What we do
Strip the objective assembly, replace the fractured element and any deformed spacer, and realign the optical stack to the sensor or bundle.
What you see
The image is sharp in the center and blurred toward the outside
Likely cause
Optical stack misalignment from impact, or on a rigid telescope a bent shaft that has thrown the rod lens relay out of line.
What we do
Straighten and re-relay the rigid shaft, or realign the flexible objective stack, then confirm resolution across the full field.
What you see
The defect moves or disappears when the camera head is rotated on the coupler
Likely cause
The fault is not in the scope. Debris, damage, or moisture on the coupler window or the camera head sapphire is producing it.
What we do
Clean and inspect the coupler and camera head, and repair or replace the affected window. The scope goes back in rotation unchanged.
What Not to Do With a Damaged Distal Tip
Optics fail progressively. Most of what gets tried in the department turns a window replacement into an assembly replacement.
- Do not keep using a scope with a cracked distal window. The crack has opened the sealed envelope, so every subsequent reprocessing cycle is pushing fluid and chemistry into the optics, and a window replacement quietly becomes an objective assembly replacement.
- Do not polish, scrape, or pick at the tip surface with anything from the department, including a scalpel edge, a wooden stick, or abrasive paste. Distal windows carry optical coatings measured in fractions of a micron. Anything that removes the mark removes the coating with it.
- Do not soak a scope with a suspected lens breach in an attempt to clear the haze. Haze in the optical train is condensation behind a failed seal, so more immersion adds more fluid. Read the fluid invasion guidance before the next cycle.
- Do not force an accessory through a working channel while the tip is at full deflection. That is how most objective assemblies get hit from the inside, and it is the one habit that cracks lenses on scopes that are otherwise handled carefully.
- Do not conclude the scope is at fault until you have rotated the camera head on the coupler. If the defect turns with the camera rather than staying put on the image, the scope is fine and the camera head or coupler is what needs work.
Why a Starred Scope Image Is Not Always a Cracked Lens
Before anything gets sent anywhere, spend two minutes proving where the defect lives. A mark that stays in exactly the same place on the monitor while the camera head is rotated on the coupler belongs to the scope. A mark that rotates with the camera belongs to the camera head or the coupler window. A mark that changes when you swap the light cable belongs to the illumination path.
That test costs nothing and it settles a surprising number of arguments between the OR and biomed. We see rigid telescopes sent in for a cracked lens that turn out to be perfect, with a scratched coupler sapphire producing the defect the surgeon was looking at.
Once the defect is confirmed on the scope, the next question is whether it is on the outer surface or behind it. That distinction is what separates a straightforward window job from a full optical rebuild, and it is worth describing carefully when you call. The rest of the symptom pages on this site follow the same logic.
How Distal Lens Damage Actually Happens in a Working Department
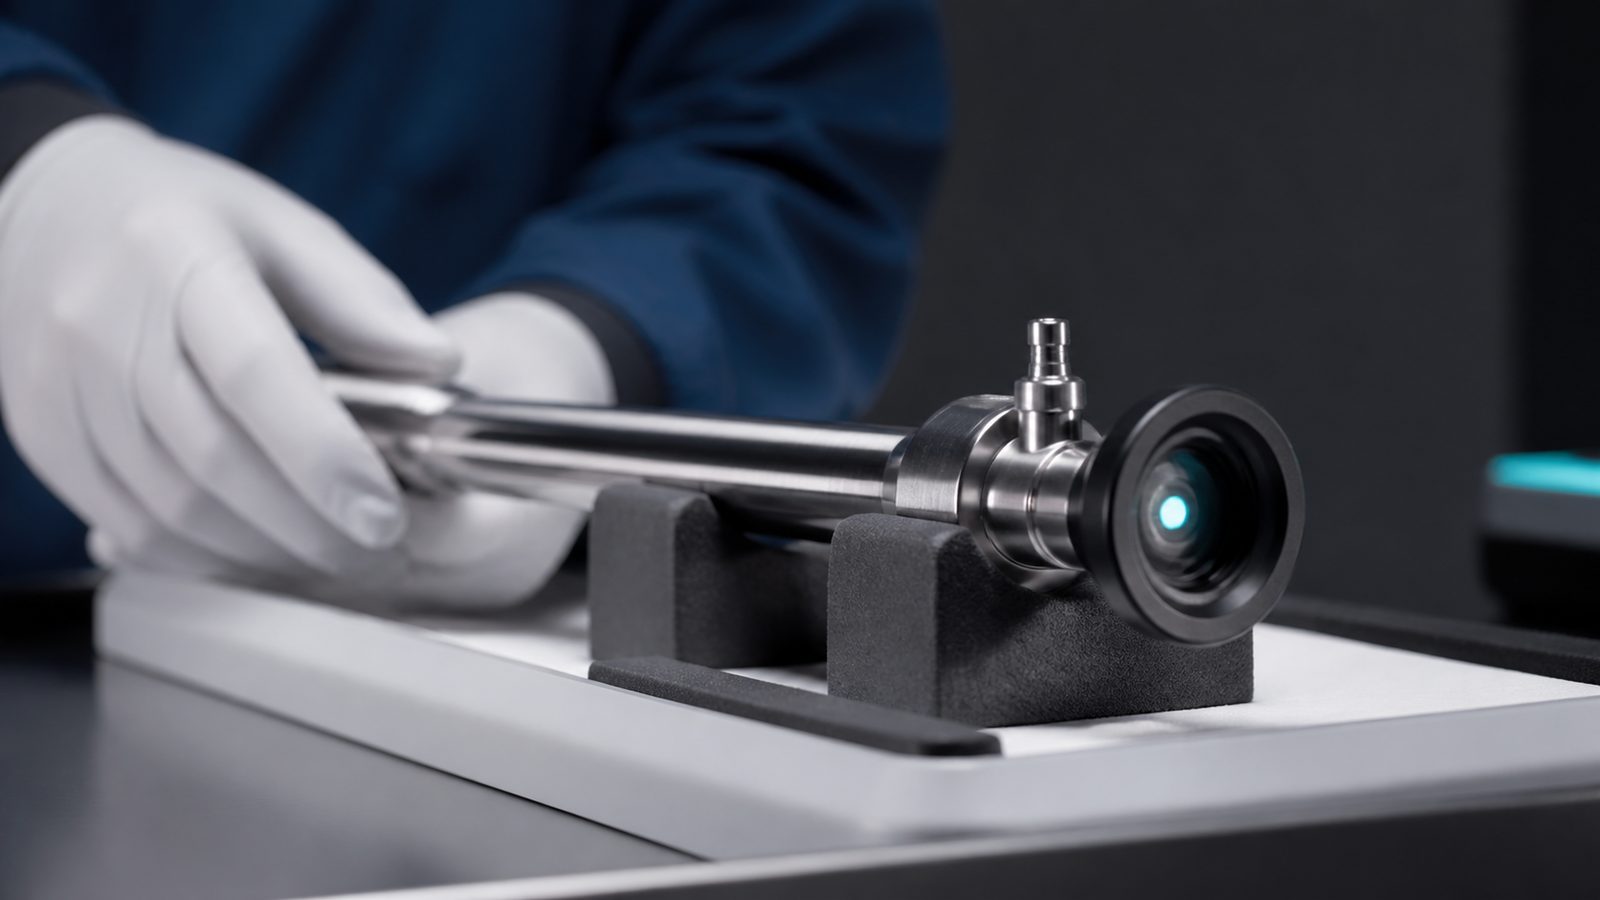
Almost none of it happens during the procedure itself. Distal optics get damaged in the handful of seconds either side of it, and the causes repeat across every facility we talk to.
- A bite block that slipped or was never placed, on upper GI cases in particular
- Forceps, snares, and stiff guidewires driven through a working channel while the tip is deflected
- Contact with the port, the trocar edge, or bone during rigid scope insertion and withdrawal
- Brush heads and channel cleaning tools worked across the window during manual reprocessing
- Tip to tip contact from scopes stored or transported loose in the same case or tray
- Drops from the field, the counter, or the transport cart, where the tip lands first
Moisture in the Optical Train Versus Damage on the Objective Lens
These two present almost identically on the monitor, and they are entirely different repairs. Physical damage produces an edge. A crack has rays, a chip has a defined boundary, a scratch has a direction. Whatever the shape, it stays exactly the same from one case to the next.
Moisture has no edge. It reads as a general haze or a milky veil, it is often worse when the scope is cold and better once it has warmed, and it can shift position slightly as condensation moves. The critical part is what it means: haze inside the optics is proof that the sealed envelope is breached. The scope is not just producing a poor image, it is admitting fluid on every cycle.
So the two symptoms carry different urgency. A chipped window is a scheduling decision. A hazed optical train is closer to the situation described on our leak testing page, and it should come out of rotation now rather than at the end of the list.
What Cracked Distal Lens Repair Involves on Flexible and Rigid Scopes
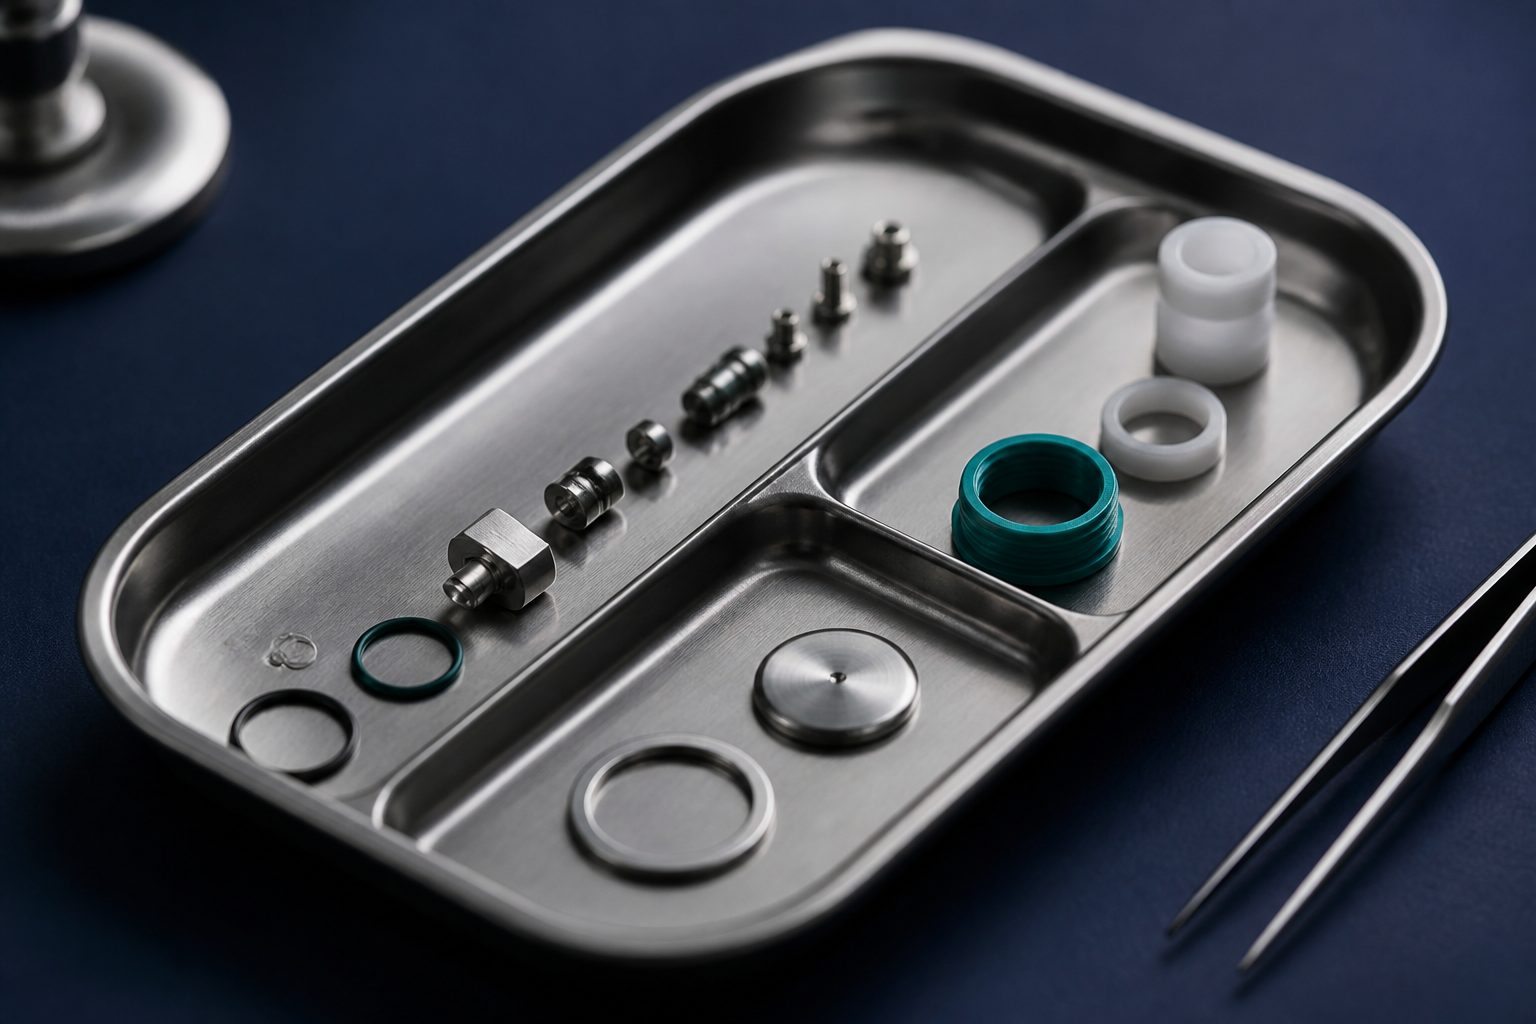
On a flexible scope, the tip assembly is opened under magnification, the window or objective element is replaced, the optical stack is realigned to the bundle or sensor, and the assembly is resealed and pressure tested. Image quality is checked against a resolution target before it goes back in the case, because a lens that is sealed but misaligned is still a scope your endoscopists will reject.
On a rigid telescope the work runs down the shaft. A cracked distal window often comes with a bent shaft and a disturbed rod lens relay, so the repair is straightening, relay rebuild, window replacement, and eyepiece seal restoration together. That is standard rigid telescope work, and it is why the quote on an arthroscope with a chipped tip is often larger than the chip suggests.
Either way the evaluation is free and the written quote comes before anyone opens the device. High volume gastroscope service and arthroscope optical repair are the two we quote most often for tip damage, for reasons anyone who has stood in either room will recognize.
How it works
How Distal Lens and Objective Repair Works on Our Bench
The optics get assessed under magnification, the seal gets tested, and you get a written quote before anything is opened.
Tell us what failed
Send the manufacturer, model, and what you are seeing. A photo of the damage helps but is not required.
We collect the scope
Courier pickup across Southern California, or ship the device in to our bench from anywhere in the country.
You get a written quote
We evaluate the device, document the failure, and price the repair. Nothing proceeds until you approve it.
Repaired, tested, returned
The device is repaired, leak and function tested, and returned with documentation for your records.
Questions we get
Distal Lens Questions From OR and Endoscopy Teams
How do we tell whether the defect is in the scope or the camera?
Can a scratched distal window be polished instead of replaced?
The image is hazy but there is no visible damage. What is that?
Is a cracked lens on a rigid telescope worth repairing?
Our image looks dark rather than damaged. Is that a lens problem?
Should we keep using a scope with a small chip until the schedule allows?
Other Scope Optics Failures We Repair
A degraded image has more than one cause. These are the ones most often mistaken for lens damage.
Leak Testing
The scope fails a leak test in reprocessing
Fluid Invasion
Fluid has entered the scope body or control section
Bent Insertion Tube
The insertion tube is kinked, buckled, or will not straighten
Angulation Loss
The tip will not reach full deflection or feels loose
Dim Illumination
The field is dim even at full light source output
Channel Blockage
Air or water will not pass, or insufflation is weak
Biopsy Port
The biopsy port leaks, sticks, or will not seal
Get a Quote on Cracked Lens Repair
Send a photograph of the monitor image if you can. Tell us the manufacturer and model, and we will tell you what it costs to fix.
Monday to Friday, 8:00 AM to 5:00 PM Pacific
Saturday and Sunday, closed
Mail-in repairs received any day
Serving Southern California with pickup and delivery, and the rest of the country by mail-in.